How to Auto Convert images to WebP in WordPress (Without Plugins)?
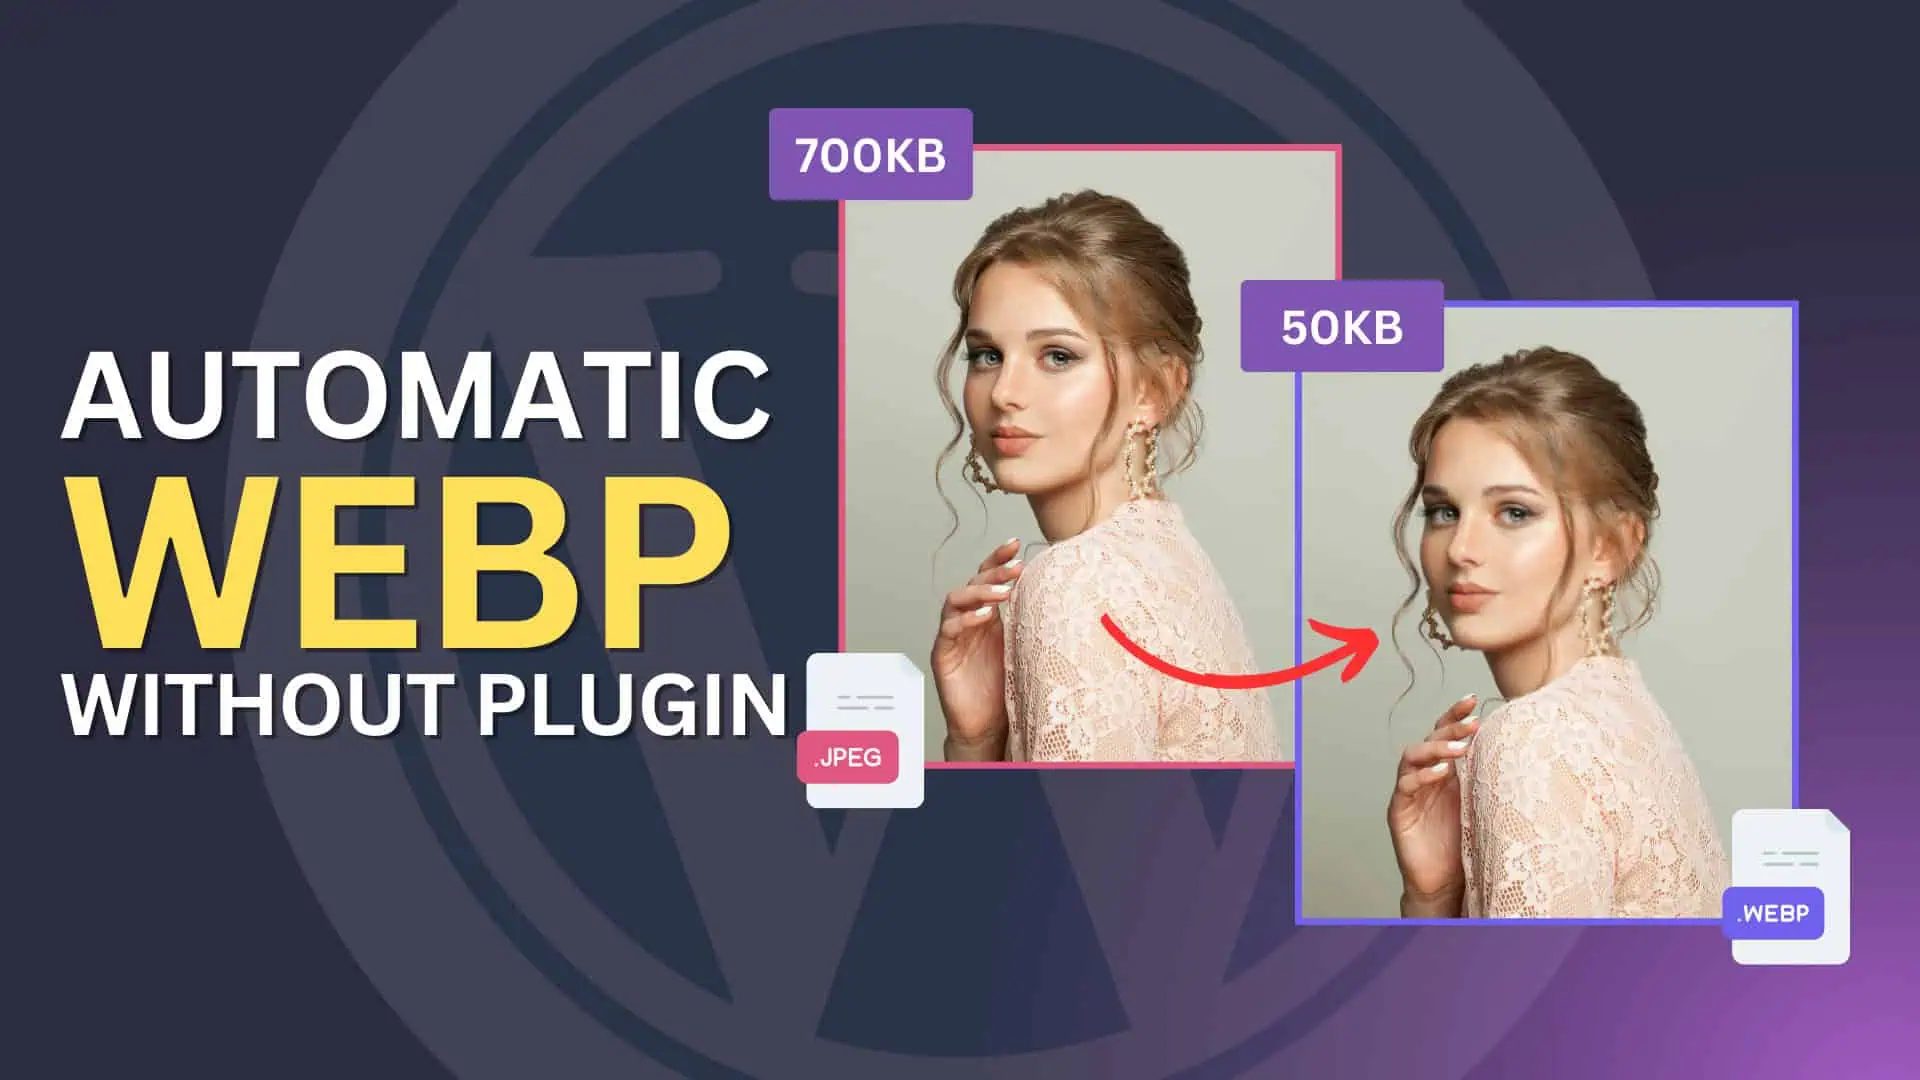
Using WebP images ensures faster loading times and better SEO for your website. This guide shows how to automatically convert uploaded images to WebP format without any plugins.
We are going to use some simple PHP snippet to our WordPress website for that. Follow the steps below to integrate this code easily.
Why Use WebP Format?
- Faster Website: WebP images have smaller file sizes.
- Improved SEO: Faster load times help with search engine ranking.
- Better User Experience: Visitors prefer fast-loading sites.
Steps to Convert Images to Webp (On Image Upload)
To Convert images to webp format automatically once we upload any image to our Wordpress Media Library, we are going to use the following code snippet on our website.
You can place the following snippet inside your theme’s functions.php file or use a code management tool like Code Snippets or WPCode.
Note: Always backup your WordPress site before modifying the functions.php file to prevent downtime if any errors occur.
/**
 * Convert Uploaded Images to WebP Format
 *
 * This snippet automatically converts JPEG, PNG, and GIF images
 * to WebP format during the upload process.
 */

add_filter('wp_handle_upload', 'wpturbo_handle_upload_convert_to_webp');
function wpturbo_handle_upload_convert_to_webp($upload) {
    if (in_array($upload['type'], ['image/jpeg', 'image/png', 'image/gif'])) {
        $file_path = $upload['file'];
        if (extension_loaded('imagick') || extension_loaded('gd')) {
            $image_editor = wp_get_image_editor($file_path);
            if (!is_wp_error($image_editor)) {
                $file_info = pathinfo($file_path);
                $dirname = $file_info['dirname'];
                $filename = $file_info['filename'];
                $def_filename = wp_unique_filename($dirname, $filename . '.webp');
                $new_file_path = $dirname . '/' . $def_filename;
                $saved_image = $image_editor->save($new_file_path, 'image/webp');
                if (!is_wp_error($saved_image) && file_exists($saved_image['path'])) {
                    // Update the upload data to use the WebP image
                    $upload['file'] = $saved_image['path'];
                    $upload['url'] = str_replace(basename($upload['url']), basename($saved_image['path']), $upload['url']);
                    $upload['type'] = 'image/webp';

                    // Optionally delete the original file
                    @unlink($file_path);
                }
            }
        }
    }

    return $upload;
}
Usage Instructions
Add the Code
- Copy the PHP snippet and paste it into your theme’s functions.php file.
- Alternatively, use any code management plugin like Code Snippets or WPCode plugin to manage the code safely.
Test the Upload Process
- Upload a JPEG, PNG, or GIF image through the WordPress media library.
- The image will automatically convert to WebP format upon upload.
Optional: Keep the Original Files (If Needed)
If you want to preserve the original image along with the WebP version, just remove or comment out this line in the code:
@unlink($file_path);
This will keep both the original and WebP files on your server.
Verify Image Conversion
Go to the WordPress Media Library. Check the uploaded image URLs. They should end with .webp. And You can also see that the Image file size will be much lower than the original image.
Things to Consider for PHP Code to Work in WordPress
- Ensure your hosting environment runs PHP 7.4 or higher.
- Your server must have either GD or Imagick library installed, which supports WebP.
- Ensure that your web server (Apache/Nginx) can properly serve WebP files.
- If you want to automate the conversion process, your server must allow setting up cron jobs.
How this Script Works?
- Hooks into wp_handle_upload Filter
- Checks if the Uploaded File is an Image
- Verifies If Imagick or GD Extension is Available
- Loads the Image Editor
- Creates a Unique WebP Filename
- Converts and Saves the Image as WebP
- Updates the Uploaded File Information
- Deletes the Original File (Optional)
How can I control the Output image quality?
To set a custom quality of output Webp format image, You can use the below PHP code. Here, by default the quality is set to 80%.
You can adjust it from 0 to 100%. Higher value means your image will be in high quality and will generate image with higher file size. (Recommended Value 70-90%)
/**
 * Convert Uploaded Images to WebP Format with Custom Quality
 */
add_filter('wp_handle_upload', 'wpturbo_handle_upload_convert_to_webp');
function wpturbo_handle_upload_convert_to_webp($upload) {
    if (in_array($upload['type'], ['image/jpeg', 'image/png', 'image/gif'])) {
        $file_path = $upload['file'];
        if (extension_loaded('imagick') || extension_loaded('gd')) {
            $image_editor = wp_get_image_editor($file_path);
            if (!is_wp_error($image_editor)) {
                // Set WebP quality (adjust as needed)
                $quality = 80; // Adjust between 0 (low) to 100 (high)

                $image_editor->set_quality($quality); // Set quality for WebP conversion

                $file_info = pathinfo($file_path);
                $dirname = $file_info['dirname'];
                $filename = $file_info['filename'];
                $def_filename = wp_unique_filename($dirname, $filename . '.webp');
                $new_file_path = $dirname . '/' . $def_filename;

                $saved_image = $image_editor->save($new_file_path, 'image/webp');

                if (!is_wp_error($saved_image) && file_exists($saved_image['path'])) {
                    // Update the upload data to use the WebP image
                    $upload['file'] = $saved_image['path'];
                    $upload['url'] = str_replace(basename($upload['url']), basename($saved_image['path']), $upload['url']);
                    $upload['type'] = 'image/webp';

                    // Optionally delete the original file
                    @unlink($file_path);
                }
            }
        }
    }

    return $upload;
}Note: This script only works when you upload a New media File to Wordpress. It doesn’t convert Existing images that are uploaded before using this script.
Convert Existing images to Webp Format.
You can convert all of your existing images to webp format using the below code.
Add this code temporarily (via Code Snippets or functions.php): (You need to run the code once and refresh site and later you can delete the code. )
add_action('init', 'k2b_batch_convert_images_to_webp');
function k2b_batch_convert_images_to_webp() {
    if (!current_user_can('administrator')) return;
    if (!isset($_GET['convert_webp'])) return;

    $batch_size = 100; // Number of images converted per Refresh

    $args = [
        'post_type'      => 'attachment',
        'post_mime_type' => ['image/jpeg', 'image/png', 'image/gif'],
        'posts_per_page' => $batch_size,
        'post_status'    => 'inherit',
        'orderby'        => 'ID',
        'order'          => 'ASC',
    ];

    $images = get_posts($args);

    if (empty($images)) {
        echo "✅ All images converted!";
        exit;
    }

    foreach ($images as $image) {

        $file_path = get_attached_file($image->ID);

        if (!$file_path || !file_exists($file_path)) continue;

        $file_info = pathinfo($file_path);
        $dirname   = $file_info['dirname'];
        $filename  = $file_info['filename'];

        $new_file_path = $dirname . '/' . $filename . '.webp';
        if (file_exists($new_file_path)) continue;

        $image_editor = wp_get_image_editor($file_path);

        if (is_wp_error($image_editor)) continue;

        $saved = $image_editor->save($new_file_path, 'image/webp');

        if (!is_wp_error($saved) && file_exists($saved['path'])) {

            // Attachment update करें
            update_attached_file($image->ID, $saved['path']);

            wp_update_post([
                'ID' => $image->ID,
                'post_mime_type' => 'image/webp'
            ]);

            // Optional: original delete करें
            // @unlink($file_path);
        }
    }

    echo "⏳ Processed {$batch_size} images... Refresh again.";
    exit;
}
Add the code. Open this URL in browser: https://yourwebsite.com/?convert_webp=1
⚠️ Important:
- Run this once, then REMOVE the code
- Backup your site before running
- Now this Will convert all existing images to webp version without changing the image URL
- You may still see jpg in url but when you check the site, Webp format images will load in browser
If Not working, then add this to your htaccess file. (For Apache Servers)
<IfModule mod_rewrite.c>
RewriteEngine On

RewriteCond %{HTTP_ACCEPT} image/webp
RewriteCond %{REQUEST_FILENAME} \.(jpg|jpeg|png)$
RewriteCond %{REQUEST_FILENAME}.webp -f
RewriteRule ^(.*)\.(jpg|jpeg|png)$ $1.webp [T=image/webp,L]
</IfModule>

<IfModule mod_headers.c>
Header append Vary Accept env=REDIRECT_accept
</IfModule>- Original file stays → /image.jpg
- WebP file created → /image.webp
- Your content still uses .jpg
- .htaccess silently serves .webp
👉 So URLs remain untouched = no broken images. Still take a full site backup before using the code.
Conclusion
By adding this code to your functions.php file, you can seamlessly convert all uploaded images to the WebP format without the need for plugins. For existing images, run the above code snippets temporarily. This ensures faster page loads and better SEO performance for your website.
If you have any issue during this process, do let us know. I will try to solve the issue as soon as possible.