How to Upload HTML Website to Hostinger & Make It Live on the Internet

Today, in this Article I am going to show you how you can upload your HTML Website to Hostinger and make it live on the internet.
Before We proceed to the step by step process, You need to learn the basics on How the Website Works and what are the requirements to make a website live.
To make a website live on the internet, You need a domain and a Good Managed web Hosting.
A domain name is your website’s address on the internet. For Example Our domain is Key2blogging.com and We hosted this Website on Hostinger Hosting.
Hostinger is a web hosting service that lets you store your website files on their servers and make your site accessible on the internet using a domain name.
In simple words, Hostinger is the place where your website lives online.
It Provide all Necessary features like Domain Management, DNS, SSL Certificate, Database Management, File Manager, FTP etc.

Buy Hosting and Domain on Hostinger
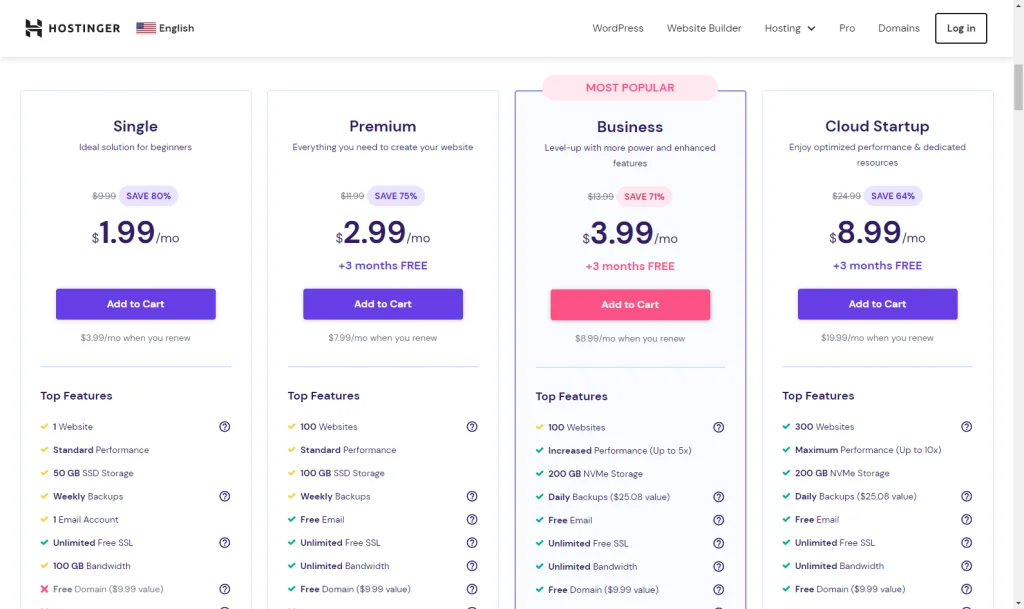
First, Go to Hostinger and Purchase a hosting plan (Like Premium or Business Shared hosting Plans)
Create a New Website
After purchasing a hosting plan from Hostinger, log in to your hPanel dashboard. If you bought the domain from Hostinger, it will be automatically connected.
If domain is external: Update nameservers to Hostinger nameservers.
After that Go to Websites > Websites List and Click on Add New Website. Under the drop down menu select the “Custom PHP/HTML Website” Option.

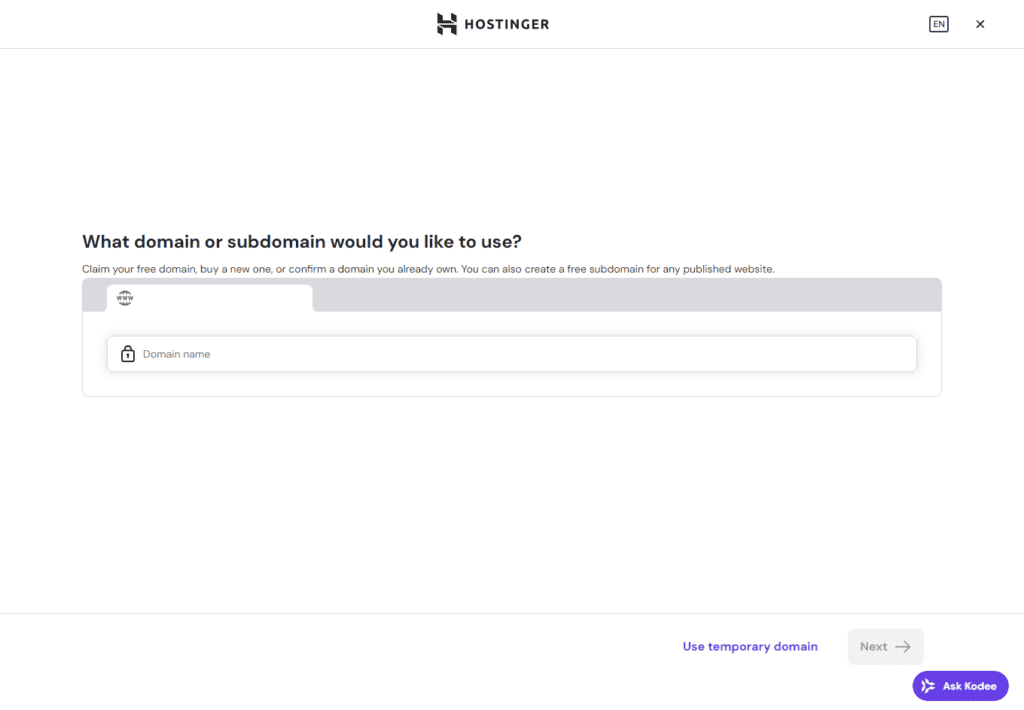
After that You can choose your Preferred Domain Name and proceed to next step.
Note, if you purchased premium or higher plan then you can claim a free domain name for 1 year.
After that you will land on the Website Dashboard where you can see all the details about the Website and Manage different options like File manager, Database, Backups etc.
Prepare Your HTML Files
Your website folder should look like this:
| File / Folder | Purpose |
| index.html | Main homepage |
| style.css | Website styling |
| script.js | JavaScript functions |
| images/ | All images |
⚠️ Important: The homepage file must be named index.html.
Upload HTML Website Using File Manager
- Open hPanel
- Go to Files → File Manager
- Open public_html folder
- Upload all your HTML files
📌 The public_html folder is the root directory of your website.
If you still have doubt, follow the Video tutorial above.
Final Checklist Before Going Live
- All files uploaded to public_html
- index.html present
- Domain connected correctly
- Images and CSS working
- Mobile-friendly design
Conclusion
Uploading an HTML website to Hostinger is simple when you understand the file structure and hosting basics. With proper SEO and performance optimization, your static website can load fast and rank well in search engines.
If you followed all the steps above, your website should now be live and accessible on the internet.