How to Add Profile Picture in a Business Email Address?
In a crowded inbox, a faceless email is an ignored email. While most custom business addresses show up as a generic letter icon, adding a professional profile picture instantly humanizes your brand and builds trust with your recipients.
Whether you’re reaching out to a new lead or following up with a client, that small visual touchpoint can be the difference between being opened or archived. In this guide, I’ll show you a simple ‘hack’ to seamlessly add a profile picture to your business email so you can stand out and make every interaction count.
What is an email avatar and why do you need it?
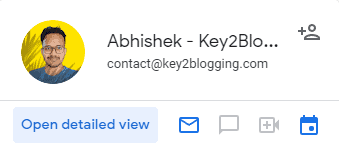
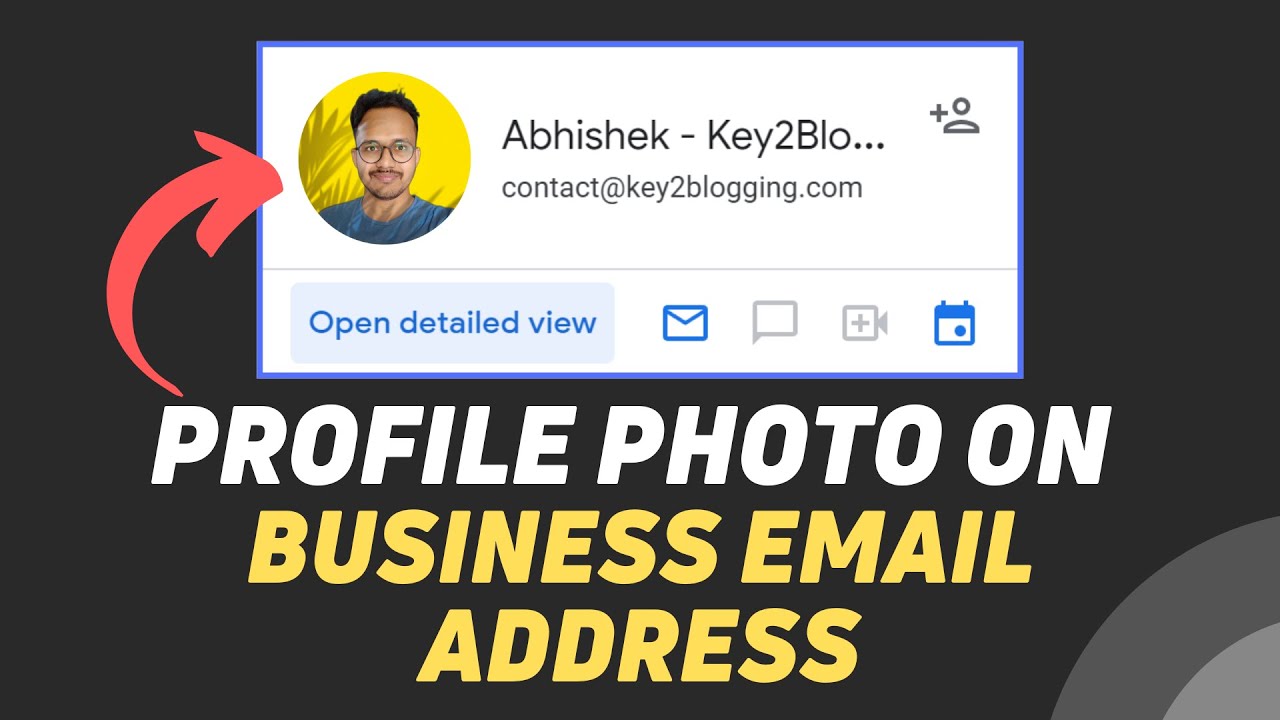
An email avatar, also known as a profile picture or email profile image, is a visual representation of the sender that appears alongside their name in email communications. It is a small image, usually a headshot or a recognizable image of the sender, displayed in the sender’s email signature or account settings. The avatar is visible to the email recipients when they receive an email from that specific sender.
By default, when new users sign up for email accounts, mailbox providers often assign generic and nondescript avatars, usually representing the first letter of the sender’s name.
Unlike social media platforms, where profile pictures are a common feature, email communication typically does not require a profile picture, even for service emails from major providers like Google, Godaddy, Hostinger, etc. As a result, emails that do include a personalized avatar tend to stand out more in the recipient’s inbox, adding a human touch and distinguishing the sender from the sea of generic email icons.
Steps to Set Profile Picture in Business Email Address
To set a profile picture on your custom Business email address, you need to follow the below steps.
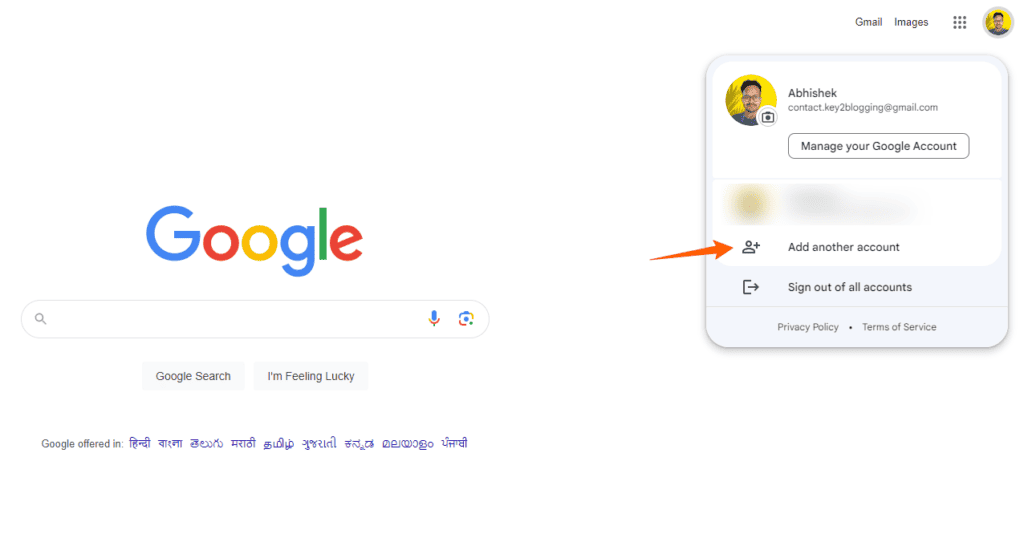
1. Go to Google.com and in the top right-hand corner, click on the profile icon.
2. Now click on the “Add Another Account” Option and click on the “Create Account” in the Next screen.
3. Now enter your basic details like First Name, Last Name, Date of birth, and gender information, and proceed to the next step.
4. Now it will ask you to set up a Gmail account, but here you need to choose the option “use your existing Email address“.
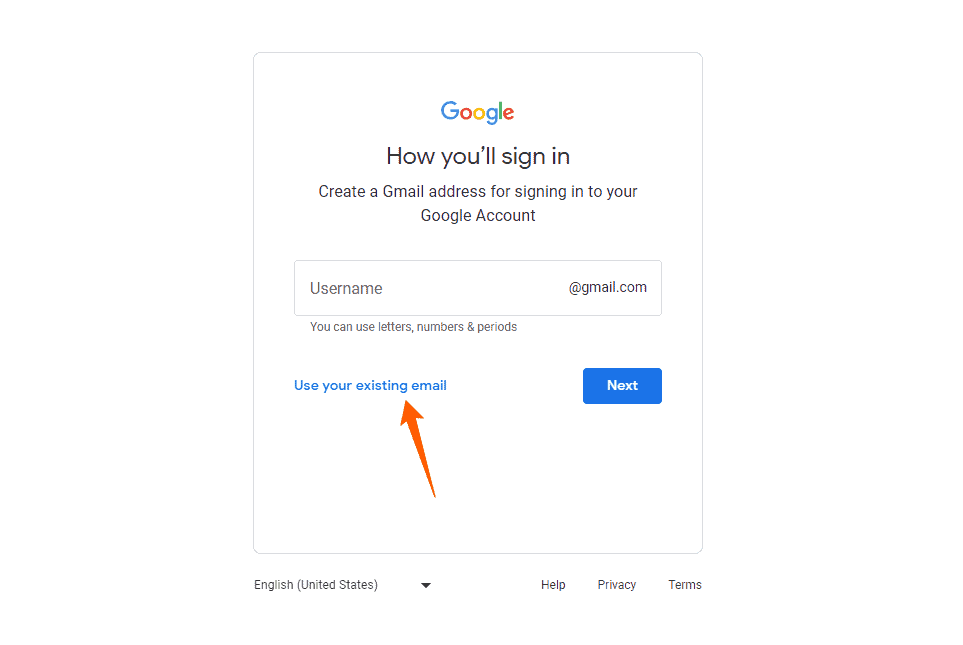
5. Now enter your existing Business Email address ([email protected]) and proceed to the next step.
6. Now you will receive a verification code in your email, just enter it and create the Google account.
7. Once, you have added the Account to your computer, you can upload a profile picture on it and it will reflect in your Business email address.
I recommend you follow the below video for more details.
FAQs
The Bottom Line
You never get a second chance to make a first impression. Setting up an email avatar ensures that your recipients see a person, not just a generic letter icon. It builds trust, increases open rates, and gives your business a professional edge. If you ran into any issues while setting this up, feel free to drop a comment below and I’ll be happy to help!
If you don’t have a Professional Email address, You can Create Unlimited Free Business Emails by following this video tutorial.


Nice and simple explanation. I followed the steps for my Google Workspace email and the profile picture updated without any issue. This saved me a lot of time. Thank you.
This was a very helpful guide. I didn’t know how to setup profile picture on my business email. As there is no such options in my Email Provider. Thank you for sharing this simple hack to do that. 👍