How to Add a Download Timer Button to Your Blogger Website (2024)
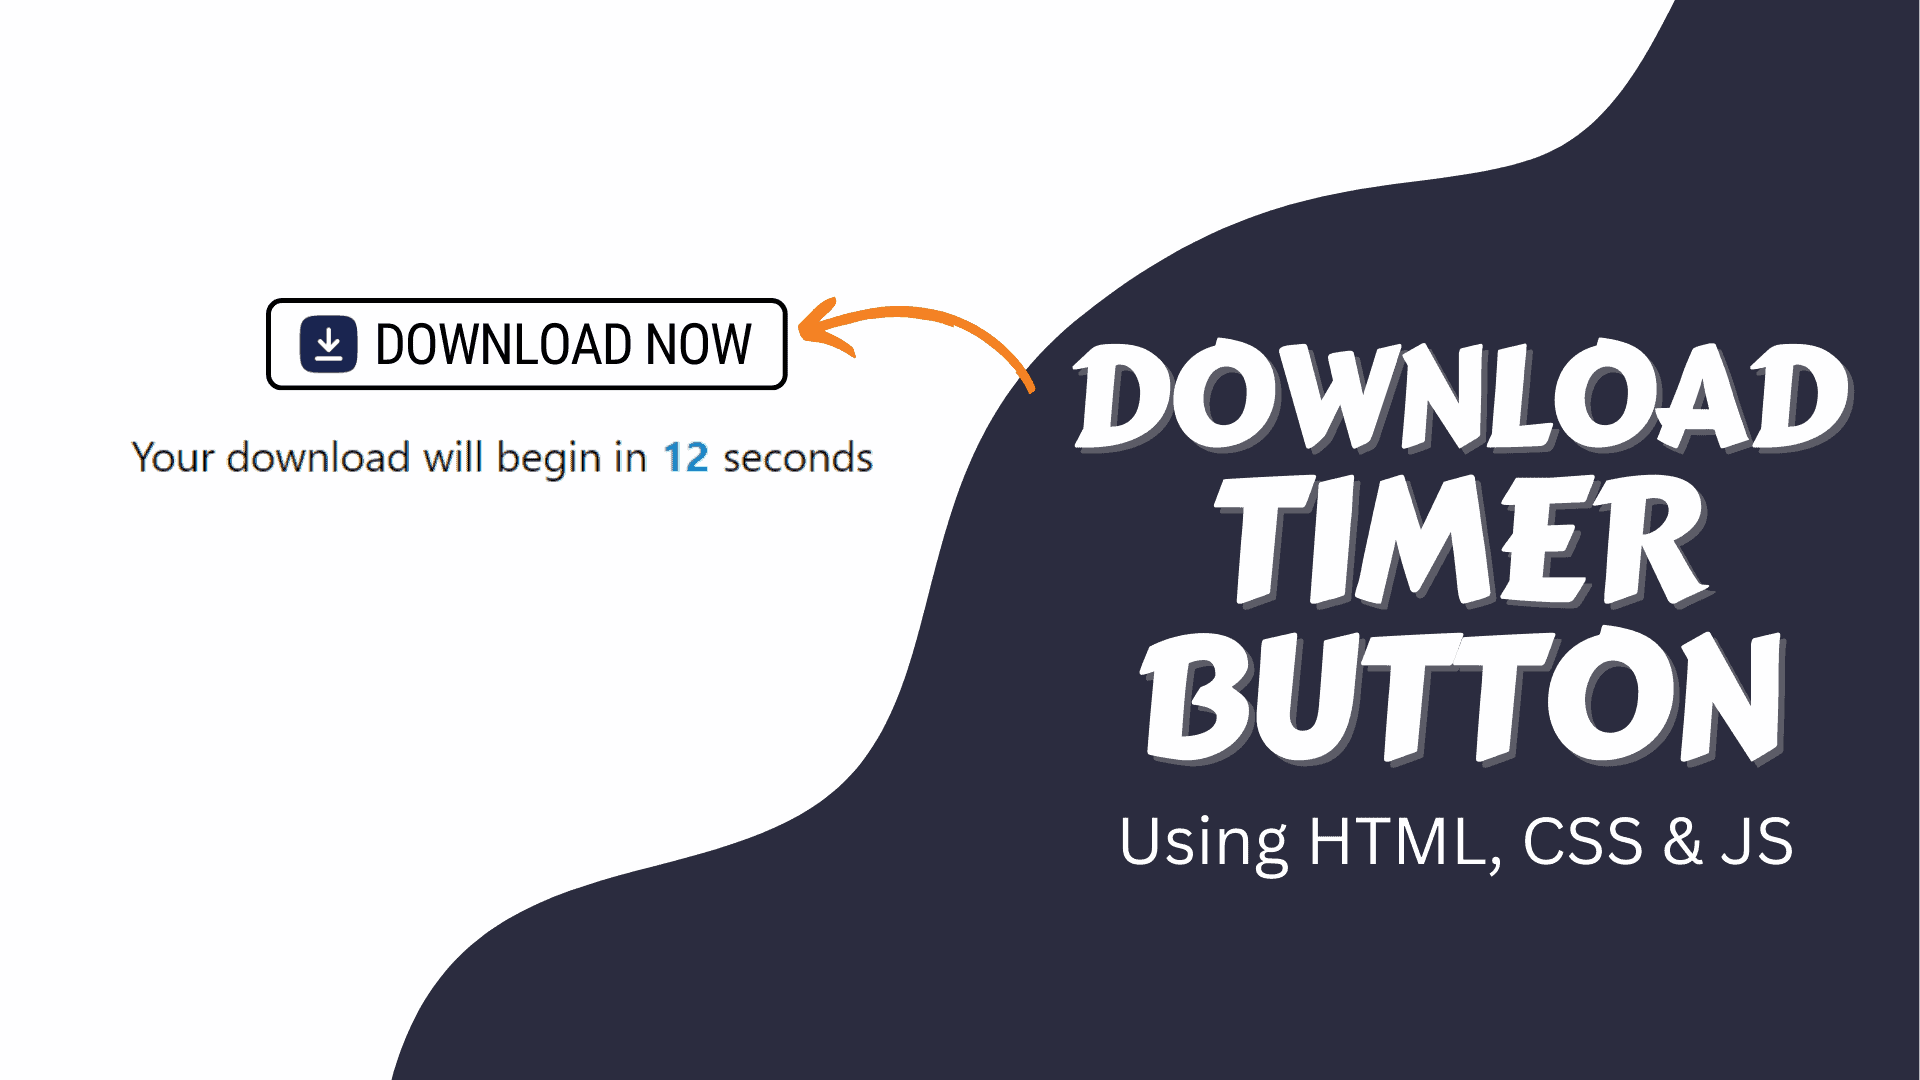
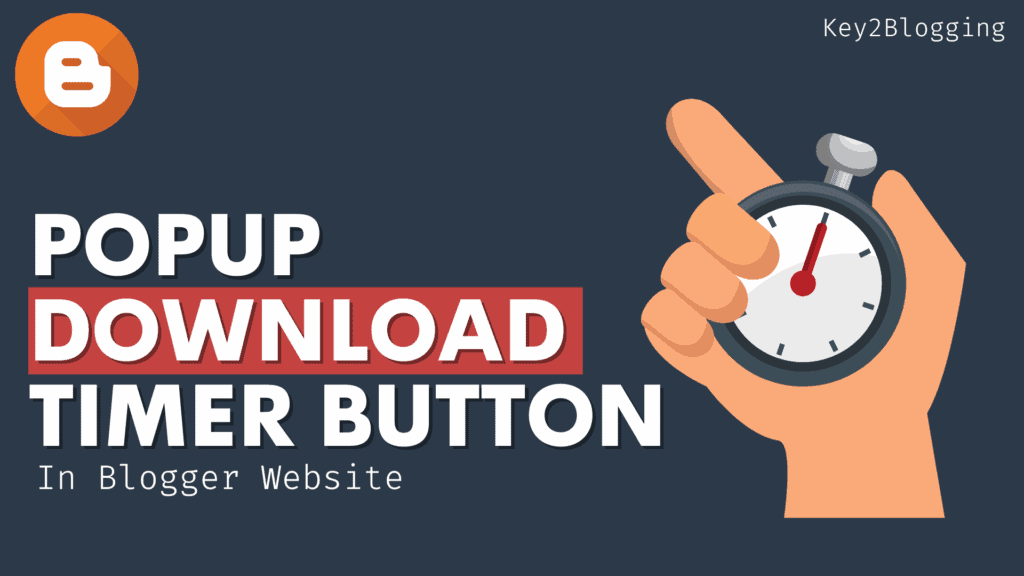
Do you want to increase engagement on your Downloading site, well you can do that by adding a download timer button.
The download timer button is a method where it will show a countdown timer when someone clicks on the download button and after the time is completed it will download the file to the computer or redirect to the main download page.
This technique is mostly used on downloading sites that solely depend on advertisements. The more you keep the user active on the webpage, the better ad impression you will get from those pages which will lead to more clicks and earnings from the advertisements.
It also, keeps the user staying longer on the page and increases your overall dwell time, reduces the bounce rate, and helps in SEO as well.
So, Let’s check How you can add a Download timer button to your Blogger website.
For this, you need to log in to your Blogger dashboard and open the existing blog post or create a new post.
Now you need to switch to the HTML view from the compose view and use the provided code below.
<style>
.download-Timer-btn{
  outline: none;
  border: none;
  color: #fff;
  display: flex;
  cursor: pointer;
  padding: 16px 25px;
  border-radius: 6px;
  align-items: center;
  white-space: nowrap;
  background: #4A98F7;
  transition: all 0.2s ease;
}
.download-Timer-btn:hover{
  background: #262d3d;
}
.download-Timer-btn.timer{
  color: #000;
  background: none;
  transition: none;
  font-size: 1.6rem;
  pointer-events: none;
}
.download-Timer-btn.timer b{
  color: #4A98F7;
  padding: 0 8px;
}
.download-Timer-btn .icon{
  font-size: 2rem;
}
.download-Timer-btn .text{
  font-size: 1.5rem;
  padding-left: 10px;
}
.download-Timer-btn svg {
    width: 30px;
    height: 30px;
    fill: #ffffff;
}
</style>

<button class="download-Timer-btn" data-timer="10">
   <svg xmlns="http://www.w3.org/2000/svg" viewBox="0 0 24 24"><title>progress-download</title><path d="M13,2.03C17.73,2.5 21.5,6.25 21.95,11C22.5,16.5 18.5,21.38 13,21.93V19.93C16.64,19.5 19.5,16.61 19.96,12.97C20.5,8.58 17.39,4.59 13,4.05V2.05L13,2.03M11,2.06V4.06C9.57,4.26 8.22,4.84 7.1,5.74L5.67,4.26C7.19,3 9.05,2.25 11,2.06M4.26,5.67L5.69,7.1C4.8,8.23 4.24,9.58 4.05,11H2.05C2.25,9.04 3,7.19 4.26,5.67M2.06,13H4.06C4.24,14.42 4.81,15.77 5.69,16.9L4.27,18.33C3.03,16.81 2.26,14.96 2.06,13M7.1,18.37C8.23,19.25 9.58,19.82 11,20V22C9.04,21.79 7.18,21 5.67,19.74L7.1,18.37M12,16.5L7.5,12H11V8H13V12H16.5L12,16.5Z" /></svg>
      <span class="text">Download Now</span>
    </button>

<script>
const downloadBtn = document.querySelector(".download-Timer-btn");
const fileLink = "https://drive.google.com/u/0/uc?id=1sBCz8x5xPZwsv8S8KCkznhfEP8r3BPfi&export=download";

const initTimer = () => {
    if(downloadBtn.classList.contains("disable-timer")) {
        return location.href = fileLink;
    }
    let timer = downloadBtn.dataset.timer;
    downloadBtn.classList.add("timer");
    downloadBtn.innerHTML = `Your download will begin in <b>${timer}</b> seconds`;
    const initCounter = setInterval(() => {
        if(timer > 0) {
            timer--;
            return downloadBtn.innerHTML = `Your download will begin in <b>${timer}</b> seconds`;
        }
        clearInterval(initCounter);
        location.href = fileLink;
        downloadBtn.innerText = "Your file is downloading...";
        setTimeout(() => {
            downloadBtn.classList.replace("timer", "disable-timer");
            downloadBtn.innerHTML = `<span class="text">Download Again</span>`;
        }, 3000);
    }, 1000);
}

downloadBtn.addEventListener("click", initTimer);
</script>Now you can change the File Link on the Javascript code and you can set the timing for the button as well.
Now, publish the page and you can confirm the download timer button by clicking on it. It will run the countdown that you have set above (data-timer=”10″) and here 10 refers to 10sec and you can change the value you want.
I recommend you keep it below 30 sec to maintain the user experience on the website.
I recommend you use our Online Google Drive Direct Download Link Generator so that the file will download instantly after clicking on the button instead of redirecting back to the Google Drive website with the preview.
You can follow this video to Learn more
I hope you have successfully added the download timer button to your Blogger website. Note that you can also use this same code in a WordPress Website as well.
If you have any doubt, feel free to ask in the comment section.
Read Also: How to Add floating social share buttons in Blogger & WordPress websites?


