How to Hide Checkout Fields in WooCommerce (for Virtual Products)

Are you Looking for a way to hide some checkout fields on your WooCommerce website But Don’t Know how to do that. Follow this Article for that.
In this article, I will Show You how to remove unused checkout fields on your WooCommerce website especially if you are selling virtual and Downloadable Products.
As you know if someone is purchasing any digital products, You don’t need their company name, physical Address like City, State, Country, Pin code etc. So, You can hide those field on your checkout page and Improve the user experience.
Users don’t have to fill all the details if they are buying any digital products. All those fields will only show if they are buying any physical Products.

In this way, You can increase your Conversion rate and Reduce friction while buying the digital product.
With a simple tweak, we can hide those fields, making the checkout experience smooth as butter. And guess what? No need for expensive plugins Talking your site’s resources. We’re keeping it lightweight and efficient, all with just a little bit of code magic.
Video Tutorial on Hide Unused checkout Fields

Hide Unused Checkout fields for Virtual and downloadble products
You need to use the code snippet on your website theme’s function.php file or use a code manager plugins like WP code.
add_filter('woocommerce_checkout_fields', 'custom_override_checkout_fields');
function custom_override_checkout_fields($fields) {
// Check if cart has virtual or downloadable products
$has_virtual_or_downloadable = false;
foreach (WC()->cart->get_cart() as $cart_item_key => $cart_item) {
if ($cart_item['data']->is_virtual() || $cart_item['data']->is_downloadable()) {
$has_virtual_or_downloadable = true;
break;
}
}
if ($has_virtual_or_downloadable) {
// Remove unwanted billing fields
unset($fields['billing']['billing_company']);
unset($fields['billing']['billing_address_1']);
unset($fields['billing']['billing_address_2']);
unset($fields['billing']['billing_city']);
unset($fields['billing']['billing_postcode']);
unset($fields['billing']['billing_country']);
unset($fields['billing']['billing_state']);
unset($fields['billing']['billing_phone']);
// Remove order comments field
unset($fields['order']['order_comments']);
// Remove account-related fields
unset($fields['account']['account_username']);
unset($fields['account']['account_password']);
unset($fields['account']['account_password-2']);
}
return $fields;
}
// Removes Order Notes Title – Additional Information & Notes Field
add_filter('woocommerce_enable_order_notes_field', '__return_false', 9999);
// Remove Order Notes Field
add_filter('woocommerce_checkout_fields', 'remove_order_notes');
function remove_order_notes($fields) {
unset($fields['order']['order_comments']);
return $fields;
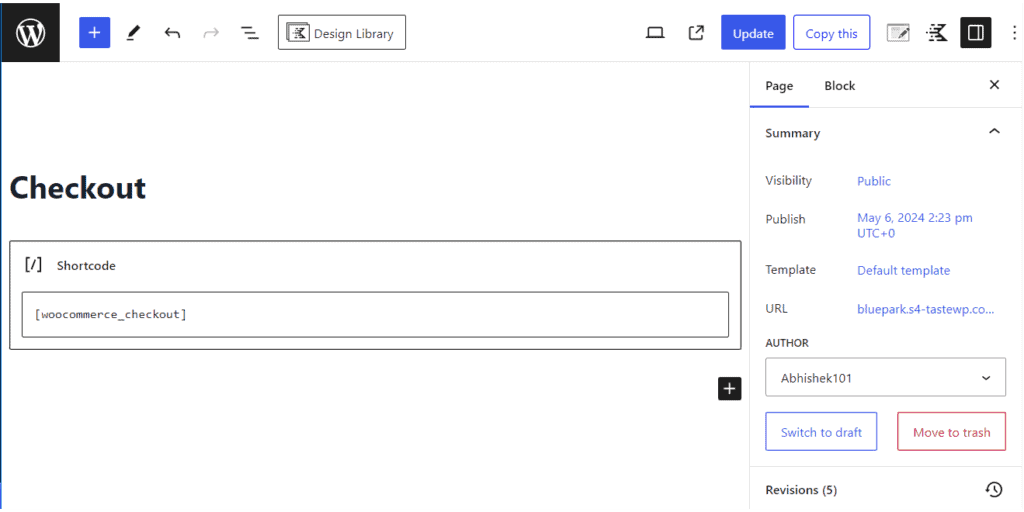
}Note: This code snippet only works for Virtual & Downloadable Products and You need to use the Classic WooCommerce Checkout using short code [woocommerce_checkout]
Imagine you’re buying things online, and sometimes you buy things that you don’t physically receive, like software or e-books. This code checks if you’re buying these kinds of things. If you are, it makes some changes to the checkout page to make it simpler.
For instance, it removes some fields that you might not need to fill out when buying virtual or downloadable stuff, like your company name, extra address lines, city, zip code, country, state, and phone number. It also gets rid of the box where you can leave special notes about your order.
Lastly, it removes the title of a section where you might leave extra notes about your order and gets rid of the actual box where you can write those notes.
Overall, this code makes the checkout process simpler and faster when you’re buying things online that you don’t physically receive.
Hide Checkout Fields for sites selling both Physical and digital products (Updated)
If you are selling both physical and digital product on the same website then you can use the below code.
It checks if the cart has only virtual products and hide unnecessary checkout fields and if cart has both physical and virtual products then it keeps all the checkout fields including shipping address.
It also hide Cash on delivery option if the cart has only virtual downloadable products.
/**
 * Check if cart contains ONLY virtual/downloadable products
 */
function k2b_cart_has_only_virtual_products() {

    if ( ! WC()->cart ) return false;

    foreach ( WC()->cart->get_cart() as $cart_item ) {

        $product = $cart_item['data'];

        if ( ! $product->is_virtual() && ! $product->is_downloadable() ) {
            return false;
        }
    }
    return true;
}
function k2b_cart_has_virtual_product() {
    if ( ! WC()->cart ) return false;
    foreach ( WC()->cart->get_cart() as $cart_item ) {
        $product = $cart_item['data'];
        if ( $product->is_virtual() || $product->is_downloadable() ) {
            return true;
        }
    }
    return false;
}
add_filter('woocommerce_cart_needs_shipping', function($needs_shipping){
    if ( k2b_cart_has_only_virtual_products() ) {
        return false;
    }
    return $needs_shipping;
});
add_filter('woocommerce_cart_needs_shipping_address', function($needs_address){
    if ( k2b_cart_has_only_virtual_products() ) {
        return false;
    }
    return $needs_address;
});
add_filter('woocommerce_checkout_fields', function($fields){

    if ( k2b_cart_has_only_virtual_products() ) {

        unset($fields['billing']['billing_company']);
        unset($fields['billing']['billing_phone']);
        unset($fields['billing']['billing_address_1']);
        unset($fields['billing']['billing_address_2']);
        unset($fields['billing']['billing_city']);
        unset($fields['billing']['billing_state']);
        unset($fields['billing']['billing_postcode']);
        unset($fields['billing']['billing_country']);
        unset($fields['order']['order_comments']);
    }
    return $fields;
});
add_filter('woocommerce_enable_order_notes_field', '__return_false');

/**
 * Disable Cash on Delivery if cart contains ANY virtual product
 */
add_filter('woocommerce_available_payment_gateways', function($gateways){
    if ( is_admin() ) return $gateways;
    if ( k2b_cart_has_virtual_product() ) {
        if ( isset($gateways['cod']) ) {
            unset($gateways['cod']);
        }
    }
    return $gateways;
});
I hope you have learned How to Remove unused checkout fields in WooCommerce checkout page in WordPress. If you have any doubts, feel free to ask me in the comment section.
More WooCommerce Tutorial ➡️
If you want to AutoComplete orders for your Virtual and Downloadable products on your WooCommerce website, so user can download the file after the successful payment and user don’t have to wait further then Follow this video Guide.

Let me know in the comment section, If you need any more help or facing issue with code snippets.
If you Want Woocommerce Related Service, You can contact us through Website or on social media channels.
Don’t Forget to Subscribe Key2blogging YouTube channel.