How to Install Anti Adblock Script in Blogger?
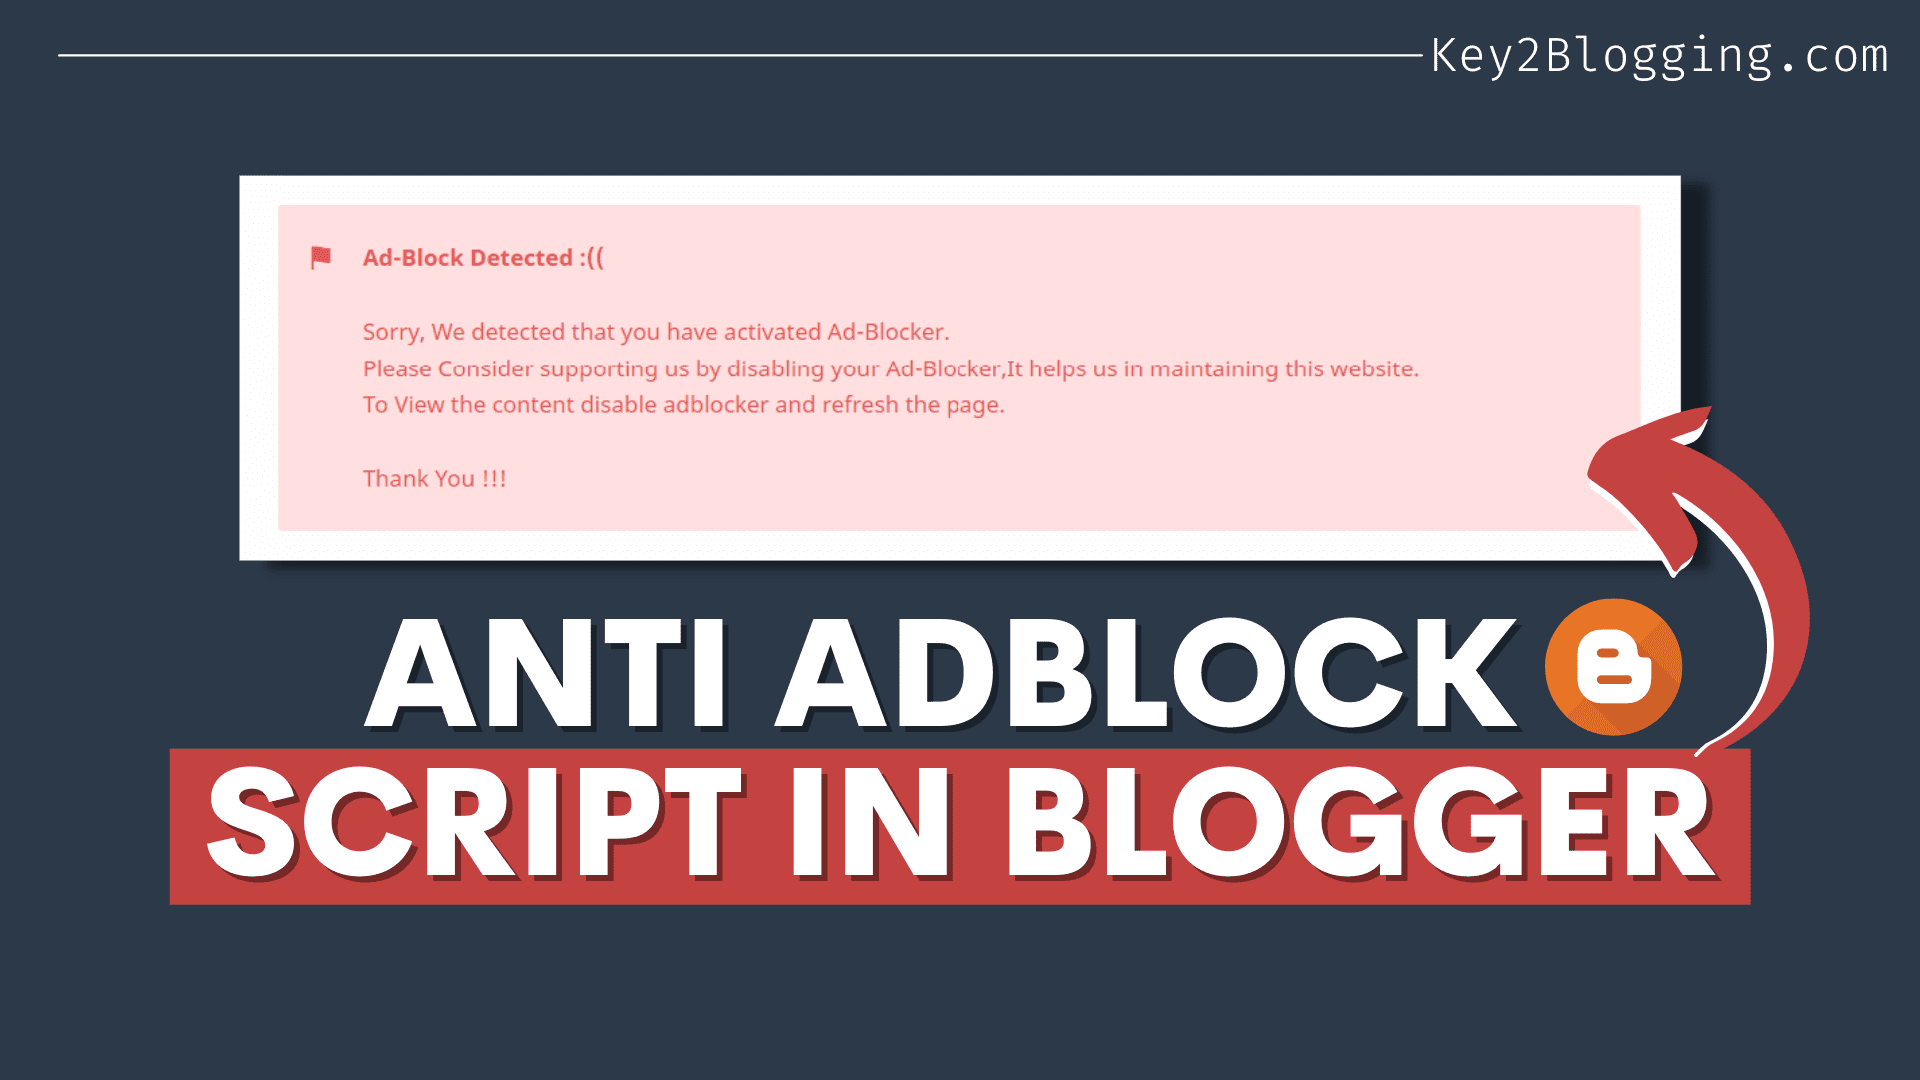
Are you looking for a powerful Anti adblock script that will block all adblockers in the browser and force users to whitelist your website?
Then you are at the right place. In this article, I will share with you the step-by-step method to install an anti-adblocker script on the blogger website.
So, with the implementation of this script, you can increase your revenue by unlocking ads on browsers that block the ad loading using an extension.
So, if your website’s most of its income relies on Adsense, then it will be a lifesaver for you. It is a must-needed script that prevents Adblocking and asks the user to unblock or whitelist your website before accessing the whole content.
What is an AdBlocker?
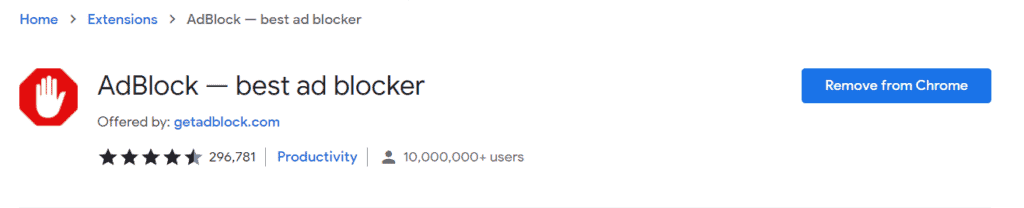
An Adblocker is a chrome extension that blocks the loading of different Ads and popups on the website. Most users use these types of tools to load websites without ads and protect privacy by blocking those cookies and trackers.
It is perfect for the readers to have a clean website without any ads but as content creators, and bloggers we need to display ads to the user to generate income it.
That’s why you need to Add the anti-adblocker script to your blogger website and ask the users (who use Adblocker software) to whitelist your domain and enable ads on your website.
How does Adblocker Affect your Adsense Earning?
If you are using Adsense on your blog, you know that it pays you for Ad impressions and clicks. So, if a user installs an adblocker chrome extension then it will block those ads from loading on that page. so, there will be no ads shown to the users and you will not get any money from the user visits.
So, if most of the readers use adblocking software then it will be going to affect your overall ad revenue and the user will get the information for free without any contribution to the website.
So, I recommend you to use the below Adblock killer Script on your blogger website and earn more revenue from your blog or website.
How to Install Anti Adblock script in Blogger?
To install the anti adblock script in Blogger, follow the below steps.

Step-1: Go to the Blogger dashboard and click on the theme section.
Step-2: Take a theme backup and click the “Edit HTML” option.
Step-3: Now Add the Javascript code above the </body> tag.
<script>//<![CDATA[
!function() {function f() {var a=document.getElementById("postBody");a.innerHTML='<p class="note noteAlert blocked"><strong>Ad-Block Detected :((</strong><br><br>Sorry, We detected that you have activated Ad-Blocker. <br> Please Consider supporting us by disabling your Ad-Blocker,It helps us in maintaining this website. <br>To View the content disable adblocker and refresh the page.<br><br>Thank You !!!</p>';} var b=document.createElement("script");b.type="text/javascript";b.async=!0;b.src="https://pagead2.googlesyndication.com/pagead/js/adsbygoogle.js";b.onerror=function() {f();window.adblock=!0};var e=document.getElementsByTagName("script")[0];e.parentNode.insertBefore(b,e)}();
//]]></script>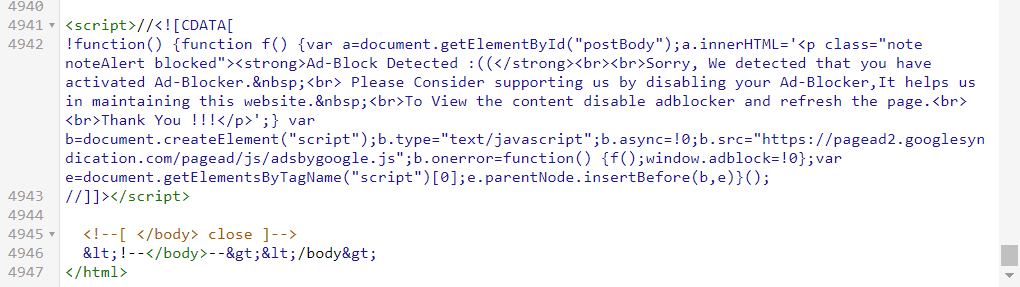
Step-4: Here, replace the Id of your Post Body section. (eg. Post-body, Post-Body )
Step-5: Now Use the below CSS code just above the Javascript code.
<style>
article .note{position:relative;padding:20px 30px 20px 50px;background-color:#e1f5fe;color:#01579b;font-size:.85rem;line-height:1.62em;border-radius:2px}
article .note:before{content:'\2605';position:absolute;left:18px;font-size:20px}
article .noteAlert{background-color:#ffdfdf;color:#e65151}
article .noteAlert:before{content:'\2691'}
</style>
Now save the theme code and the Anti Adblock script will be added to your Blogger theme.
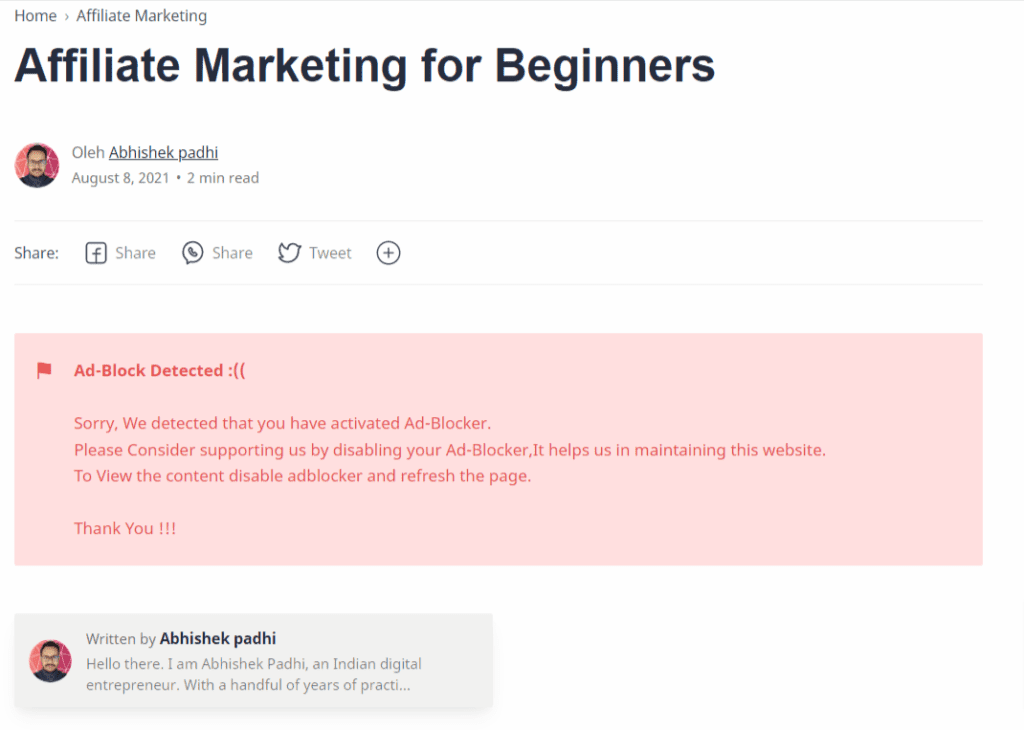
Here, it will replace the post section, and show a warning like this to the users to unblock the Adblocker in their Browsers.
Note: You need to add the right Id of the Body section of the blog post or page. If you are not using the right Id, than the script will not work. Common Post Id in Blogger themes are postBody , post-Body , post-body etc.
After Unblocking the Adblocker Extension, it will display the page content along with your Adsense ads to the users.
So, in this way, you can improve your Ad revenue by showing Ads to all users. So, your Ad impression and click will increase with the same amount of traffic.
Note: If you are using themes like Median UI/ Fletro Pro, you don’t need to add the CSS code as it is already there in that theme.
Although It counters the Adblocker tool, it also slows down the speed a little bit as we can’t apply it to lazyload Adsense along with this script.
So, if you are concerned about Ad revenue then you should use this script otherwise you can stick with the lazyload Adsense Ads for Better speed.
You can also use the inbuild Adsense ad-blocking notice which lazyloading by following this updated video.
New anti Adblock Script (2025)

<script>
  (function () {
    function detectAdBlock() {
        return new Promise((resolve) => {
            let bait = document.createElement("div");
            bait.className = "adsbox ad-banner ad-unit"; // Common blocked ad-related class names
            bait.style.width = "1px";
            bait.style.height = "1px";
            bait.style.position = "absolute";
            bait.style.left = "-9999px";
            bait.style.visibility = "hidden"; // Make it harder to detect by AdBlock itself
            document.body.appendChild(bait);

            setTimeout(() => {
                let isBlocked = !bait || bait.offsetParent === null || window.getComputedStyle(bait).display === "none";
                document.body.removeChild(bait);
                resolve(isBlocked);
            }, 100); // Reduced timeout for better performance
        });
    }

    function showAdblockPopup() {
        let overlay = document.createElement("div");
        overlay.id = "adblock-overlay";
        overlay.style.position = "fixed";
        overlay.style.top = "0";
        overlay.style.left = "0";
        overlay.style.width = "100%";
        overlay.style.height = "100%";
        overlay.style.backgroundColor = "rgba(0, 0, 0, 0.8)";
        overlay.style.display = "flex";
        overlay.style.justifyContent = "center";
        overlay.style.alignItems = "center";
        overlay.style.zIndex = "9999";
        overlay.innerHTML = `
            <div style="display: flex; flex-direction: column; align-items: center; justify-content: center; padding: 20px; text-align: center; max-width: 500px; border-radius: 10px; margin: 20px; min-height: 250px; font-size: 1.2em; font-family: system-ui; border: 5px solid #b3b3b3; background: #ffffff; color: black;">
                <h2 style="margin: 0px 0px 15px; font-weight: 700;">AdBlocker Detected!</h2>
                <p>We rely on ads to keep our website free. Please disable your ad blocker or whitelist our site.</p>
                <button id="refresh-page" style="padding: 10px 20px; font-size: 16px; cursor: pointer; background: #1a73e8; color: white; border-radius: 10px; margin: 15px 0px 0px;">I Disabled AdBlock</button>
            </div>
        `;
        document.body.appendChild(overlay);

        document.getElementById("refresh-page").addEventListener("click", function () {
            location.reload();
        });
    }

    window.addEventListener("load", () => {
        detectAdBlock().then((adBlockDetected) => {
            if (adBlockDetected) {
                showAdblockPopup();
            }
        });
    });
})();
</script>
Conclusion
I hope you have successfully added the Anti Adblock script to your Blogger website. If you have any doubts regarding this, you can ask in the comment section. If you want me to set up the anti-adblock notice on your website, You can Hire me here.
Don’t forget to join our Telegram Group to stay updated and discussed Blogging issues.
Read Also: How to Add WhatsApp chat button in Blogger


I’m after one like the one you are using on this site, it disables the whole page with a model over the page with the information in it as you have here
Follow this video for this type of anti adblock script https://youtu.be/_T1DnYof7kQ
We want it exactly like you are displaying on this website. Can you please provide me the script or plugin you use? much appreciated.
Follow this video. https://youtu.be/_T1DnYof7kQ
Please how do I get the html code for the median ui theme
Please reply fast 🙏🙏
You can get it from our Telegram Channel.
It works with Adblock Plus but not with Adblock.
Please tell me how to find post body id
I have shown that in the video Tutorials. You just need to inspect the postbody id.
In most theme it is either postbody or post-body like that.