How to use Kadence Hooked Elements for WordPress Customization.
Do you want to customize your website to the next level using the Kadence theme then you should know how to use the hooked element feature of this theme?
In this kadence Hooked element tutorial, I will cover how to set this up, configure important settings and use this feature like a pro.
What are Hooked Elements?
Hooked elements allow us to hook any type of custom elements like buttons, form, text, etc to anywhere on the website. You can place the elements using different conditions as shown below in the article.
These hooked elements can be set to the entire website or hooked to a particular website. You can also target device type, specific users like an author, contributor, login users, etc.
The best part of the kadence Element Hook is that you can set an Expire time to your hooked element that we are going to discuss below.
So, let’s start with how you can use the kadence element hook in your wordpress website for endless customization.
If you are a visual learner then you can check out the detailed video on how to set up Kadence Element Hook and add a call to action button on the website. ↯

1. Setup Kadence Element Hooks
To set up the Kadence Hooked element in your Wordpress website you must have installed a Kadence Pro Theme plugin.
This is because this feature only comes with the pro kadence theme and must have a valid pro theme license.
After you install the pro theme plugin and activate it go to the Appearance → Kadence section.
Now fill out the License Key and License Email in the upper right box and click on activate.
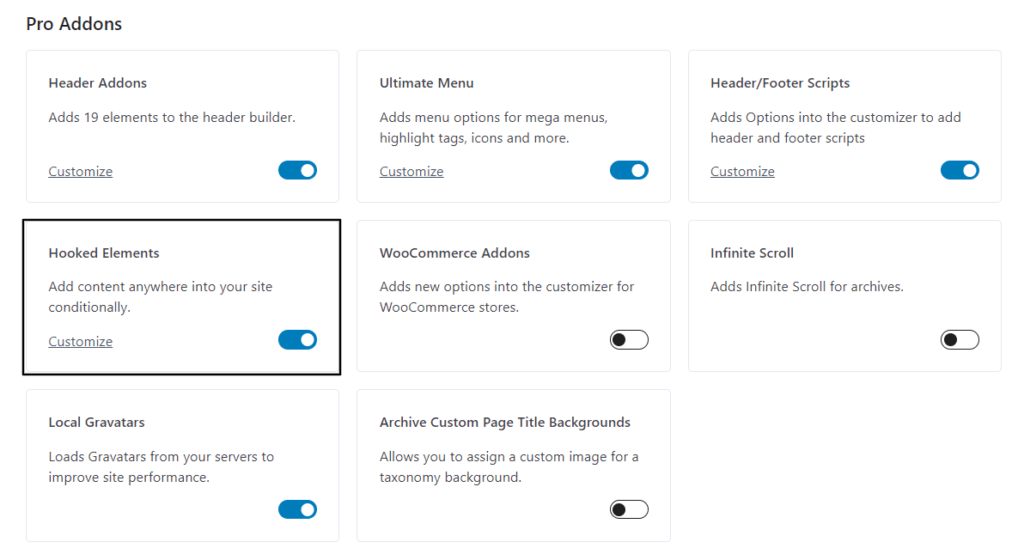
Now you will see the pros add-ons that you get with the Kadence Pro theme. Here you have to activate the Hooked Elements option.
After you activate the hooked element module you will see a new option under Appearance → Kadence ↳ Elements.
Now you are ready to move on to Step-2.
2.Create a Hooked Element
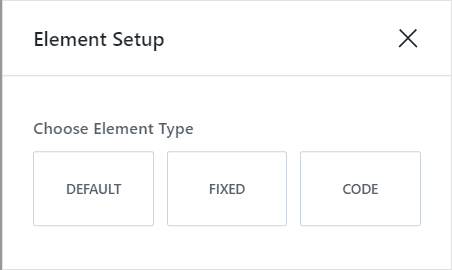
Now on the Element page, you will see an option to add a new element. Click on it and you will ask to choose from the three options.
- Default
- fixed
- code
So, let’s understand each of the element types one by one.
Default Hooked Element
In the default hooked element, you can add any types of blocks like Gutenberg blocks, kadence blocks, or even page builder blocks.
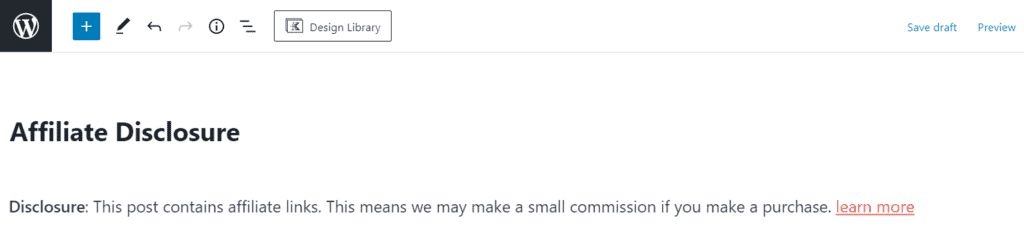
So, you can easily hook elements like Affiliate disclosure, Author box, custom discount offers, and other Call To Action sections to your website.
So, to create the element just select the Wordpress block that you want to hook and add the content.
So, for example, if I want to add an affiliate disclosure to every blog post then I will select the paragraph block and write the text and link it to the affiliate disclosure page.
Now you have created the hooked element and you can now move to step 3. But before that let’s understand the remaining two element types – Fixed and Code.
Fixed Kadence Element
Fixed Hooked element is just the same as the default element but here the placement option is different. (covered in step 3)
Here also you can hook any types of elements like your Gutenberg blocks, kadence blocks, or page builder blocks but this element is fixed on the screen while the user scrolls the page.
In the default option, the hooked element is placed in a certain place and can’t stick in the screen while scrolling but in fixed you can stick any element in the screen.
in the fixed kadence Element you will get the following placement options.
- Fixed On Top
- Fixed Above Transparent Header
- Fixed Top After Scroll
- Fixed Bottom After Scroll (no space below footer)
- Fixed Bottom After Scroll
- Fixed On Bottom
- Fixed Bottom (no space below footer)
You can learn more about the placement of these elements in detail in step-3.
Code Kadence Element
In the code option, you will be able to add your element and design it through code. so, instead of using the default graphical blocks, you can design the element through code.
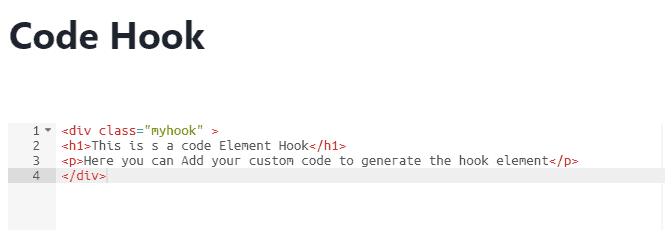
Now it supports HTML, CSS and it is expected to support PHP codes in the future. This option is beneficial for developers and coders.
3. Element Hooks Placement
After you finished creating the element, It is time to hook the element into your website. So, to get the Element hook setting click on the icon as shown here.
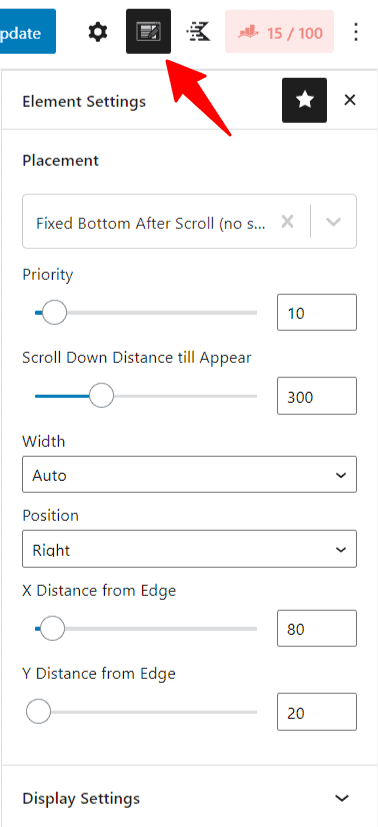
Here the first setting is the hook placement where the hook element appears on your website. So, when you click on it you will see a lot of predefined hooked placement where you place the element with a single click.
Here, you can also add your custom hook area by selecting the x and Y-axis on that page.
The best part of the Kadence hook that you get with the Kadence Pro theme is that you can hook elements even in the off-canvas menu. It gives a competitive edge over other themes in WordPress.
Here you can replace the regular content with the hook element and you have the option to replace the header, sidebar, footer, 404-page content, and login modal for a specific page.
4. Configure Display Settings
After you created the element and set a hook placement, it’s time to choose on which page the element will show off.
Here in the display setting, you have the option to conditionally place your section on whichever pages you choose.
This gives Kadence Element Hooks more power as it gives the option to dynamically place an element into pages and allows you to make all sorts of customizations.
The best part is here you can target a specific category or tag or even a specific author on the website.
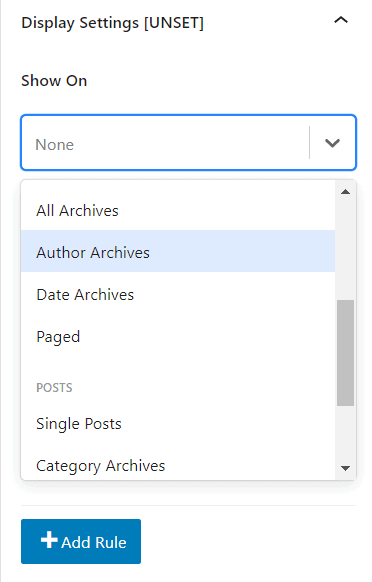
If you want to choose the element to shows up to the entire site then you can choose “Entire site” and want to show on all blog posts then you can select Single Posts and for pages select Single pages.
If you are using Woo Commerce or any LMS plugins like Learn Dash then you can see more options like product page, course page or lessons page, etc.
Here to Hook the affiliate disclosure element, we will select the single posts in the “show On“. Now you can target posts that have affiliate links on them. Here you can target a specific category or tag in your Wordpress website.
5. Configure User Settings
Now you can choose which users to show the hook element. You can see a list of options in the visible drop-down menu.
- Basic
- All Users
- Logged out Users
- Logged in Users
- Specific Role
- Administrator
- Editor
- Author
- Contributor
- Subscriber
This setting is useful when you want to show a promotional banner or offers to logout users and hide it from the login users.
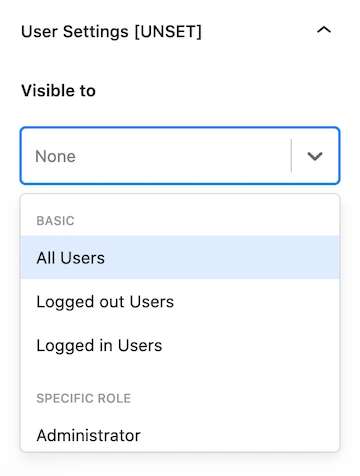
Note: You need to choose any one of the user settings, otherwise the hook element will not work. If nothing will set it will show a label of [UNSET].
You can also choose whether the element will show to various roles on your websites such as administrator, editor, author, contributor, and subscriber. This is very useful for membership websites.
6. Configure Device Settings
Here in the device setting, you will see three options. You can turn it on and Off in device types like Desktop, Tablet, and Mobile.
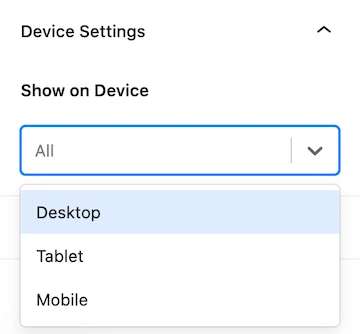
Note: Device setting is optional and if you don’t select an option it will automatically take the default option which shows the element in all devices.
7. Set Expires Settings
This is the unique option that you get in the kadence hook element. Here you can set an expiration time to your hook elements and once the time is over it will hide the element.
It will allow you to automate your process and it helps show limited-time deals and offers to the users.
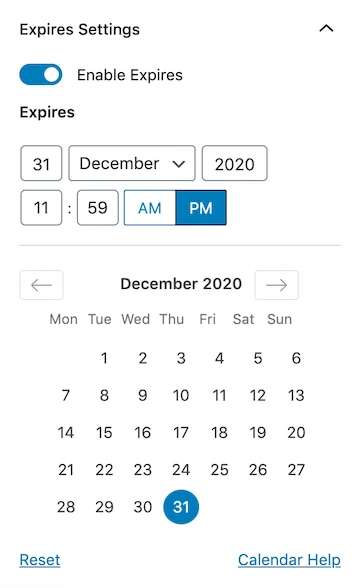
This setting is optional and you can enable the option by clicking on the toggle button. After that, it will ask you to choose the date and time for the element to expire.
After setting up all the settings, it’s time to publish the hook element. Now the hook element is live on your website.
Kadence Element hook is a powerful tool that helps you customize your Wordpress website like a pro. This feature comes only with the kadence pro theme.
If you want to customize the kadence theme, you can check out my detailed kadence customization Tutorial here.
Other popular themes like Generatepress and Astra provide similar features, but kadence took it to the next level.
You can easily add Gutenberg blocks, kadence blocks, and any other page builder blocks in your hook element. And all the Kadence Element settings are easily accessible through the regular Gutenberg editor.
What do you think about the Kadence Element Hook? Let me know in the comment section. Also, share your thoughts on the Kadence theme below.
Don’t forget to Subscribe to Our YouTube channel for Wordpress tutorials and SEO guides.