How To Add A Stylish Timeline in Blogger Website
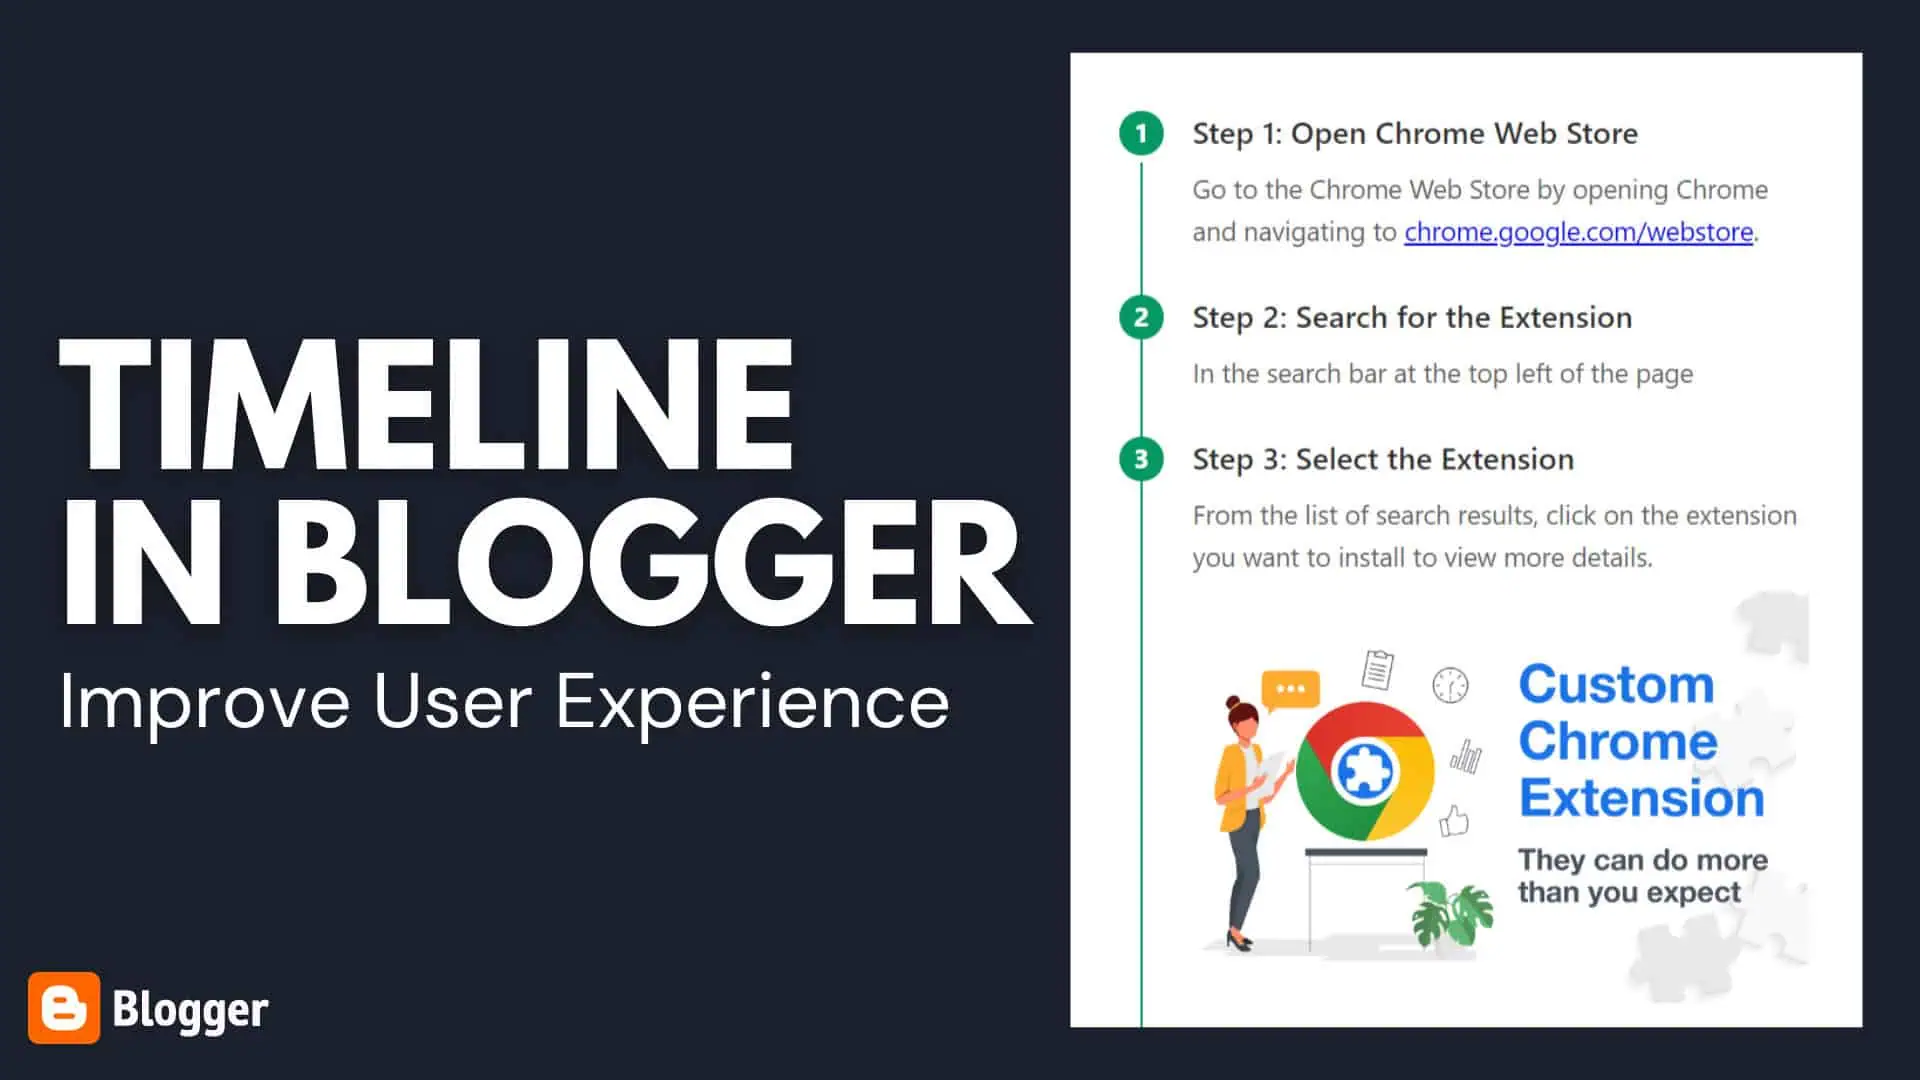
In this Article, You’ll Learn How you can add a stylish Vertical Timeline to your Blogger website. Whether you want to show a step by step process or you want to highlight history of something, a vertical timeline can help you showcase it better.
You can see use cases of Timeline and How it looks below.
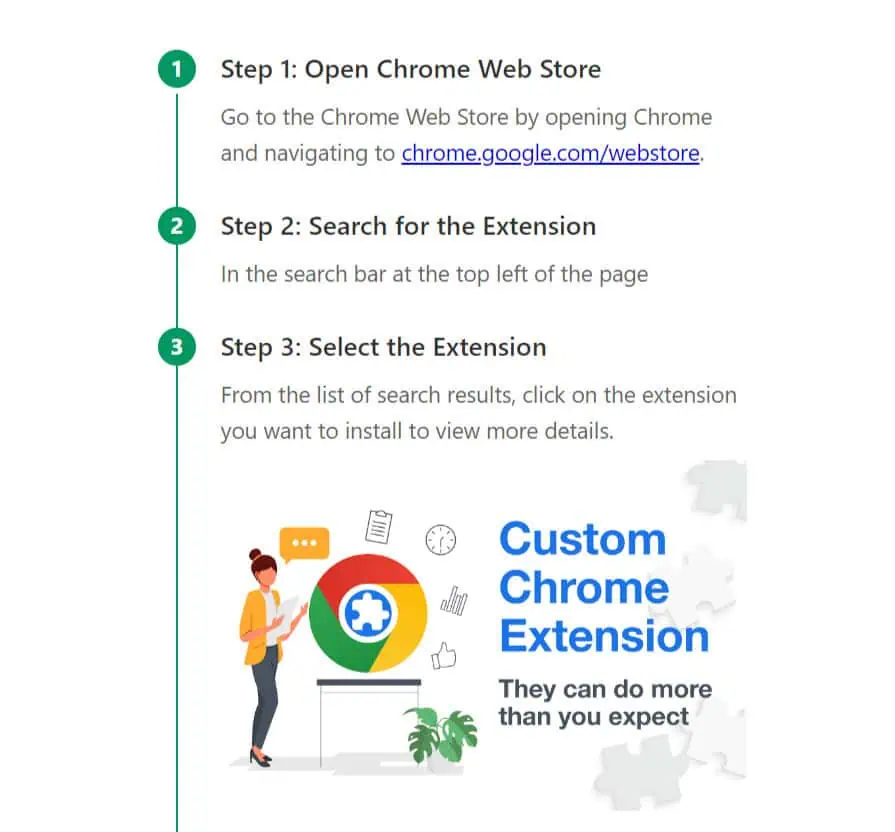
As you can see in the above image, I have showcase a step by step process of installing a Chrome extension using this beautiful timeline Widget in Blogger.
You can see it highlights the steps with a Number count and you can insert heading, Paragraphs, images in these steps.
So, Let’s check how you can add this timeline to your Blogger website.
Well, the process of adding is quite simple. All you have to do is Add the below code in the HTML Section of your Post/Pages where you want to add.
<ol class="Timeline_List">
<!--Step 1-->
    <li>
        <div class="KT_Content">
            <h3>Step 1: Open Chrome Web Store</h3>
            <p>Go to the Chrome Web Store by opening Chrome and navigating to <a href="https://chrome.google.com/webstore">chrome.google.com/webstore</a>.</p>
        </div>
    </li>
<!--Step 2-->
    <li>
        <div class="KT_Content">
            <h3>Step 2: Search for the Extension</h3>
            <p>In the search bar at the top left of the page, type the name of the extension you want to install and press Enter.</p>
        </div>
    </li>
    <li>
        <div class="KT_Content">
            <h3>Step 3: Select the Extension</h3>
            <p>From the list of search results, click on the extension you want to install to view more details.</p>
        </div>
    </li>
    <li>
        <div class="KT_Content">
            <h3>Step 4: Click "Add to Chrome"</h3>
            <p>On the extension's page, click the blue "Add to Chrome" button to begin the installation process.</p>
        </div>
    </li>
    <li>
        <div class="KT_Content">
            <h3>Step 5: Confirm Installation</h3>
            <p>A pop-up will appear asking you to confirm the installation. Click "Add Extension" to proceed.</p>
        </div>
    </li>
    <li>
        <div class="KT_Content">
            <h3>Step 6: Extension Installed</h3>
            <p>Once the installation is complete, you will see a confirmation message, and the extension's icon will appear in the Chrome toolbar.</p>
        </div>
    </li>
    <li>
        <div class="KT_Content">
            <h3>Step 7: Manage the Extension</h3>
            <p>Click the puzzle piece icon in the toolbar to view all installed extensions, pin your new extension, or manage settings.</p>
        </div>
    </li>
<!-- Add More Steps Here -->
</ol>

<style>
.Timeline_List {
    list-style-type: none;
    padding-left: 0;
    counter-reset: list-counter;
    font-family: system-ui;
    border:4px solid #f1f1f1;
    padding: 20px;
    background: #f5fff5;
}
.Timeline_List li {
    position: relative;
    padding-left: 40px;
    margin-bottom: 20px;
}
.Timeline_List li::before {
    content: counter(list-counter);
    counter-increment: list-counter;
    background-color: #059862;
    color: #fff;
    border-radius: 50%;
    width: 30px;
    height: 30px;
    display: flex;
    align-items: center;
    justify-content: center;
    font-weight: 700;
    font-size: 18px;
    position: absolute;
    left: 0;
    top: 0;
    z-index: 1;
    line-height: 30px;
    text-align: center;
}
.Timeline_List li::after {
    content: '';
    position: absolute;
    left: 14px;
    top: 35px;
    width: 2px;
    height: calc(100% + 20px);
    background-color: #059862;
    z-index: 0;
}
.Timeline_List li:last-child::after {
    display: none;
}
.KT_Content {
    margin-left: 10px;
}
.KT_Content h3 {
    margin: 0 0 10px;
    font-size: 21px;
    color: #333;
    font-weight: 600;
}
.KT_Content p {
    margin: 0;
    padding: 0 0 10px;
    color: #666;
    line-height: 1.6;
    font-size: 18px;
}
</style>
You can change the Hex Color code (Highlighted in Blue) to change the timeline color and You can also remove the border and background around the timeline by removing the code highlighted in Red color.
I recommend you to Follow the video Tutorial to learn more about it.