How to enable Cloudflare Automatic platform optimization (APO) in WordPress
Cloudflare is a content delivery platform that launched a new Automatic platform optimization feature in WordPress. Read the post to know how to install this Cloudflare APO on your WordPress website.
As you know site speed is matters a lot in Search engine performance, so to help the website perform well in Google core web vitals, Cloudflare introduced a new feature called Automatic platform optimization (APO) in WordPress.
It helps your website perform well in First Contentful Paint, speed index, and other speed metrics. According to Cloudflare, it will help reduce the Time to First Byte (TTFB) by 72%, First contentful paint by 23%, and help in the faster index in desktop.
How Automatic Platform optimization works?
This is a new feature of Cloudflare where it treats dynamic pages as a static page and boosts the performance by utilizing its Workers to cache dynamic content, enabling them to deliver entire WordPress sites from their edge network.
You can use this service in any hosting provider but you need a Cloudflare account and the official Cloudflare plugins.
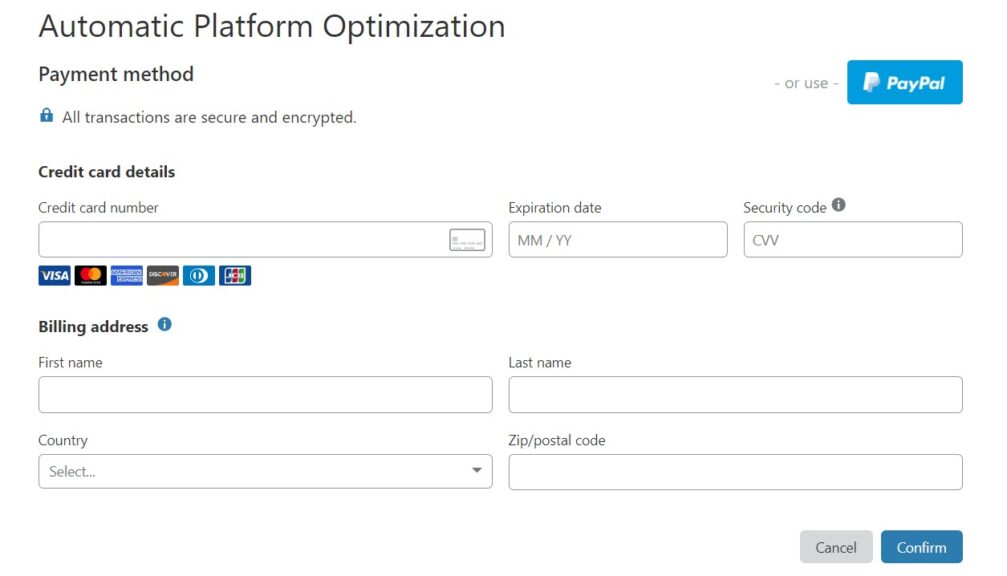
You need to remember that this is not a free service from Cloudflare. If you are using the free plan of Cloudflare then you have to pay $5 per month and if you are on any paid plan of Cloudflare then it is free for you.
You can easily achieve the speed boost provided by Cloudflare APO by using a light weight theme like Kadence.
If you are using page builders like Elementor then you can use this service. As these page builders loads a lot of resources in the front end.
How to enable Cloudflare APO step by step process:
Step-1: Enable APO in Cloudflare dashboard
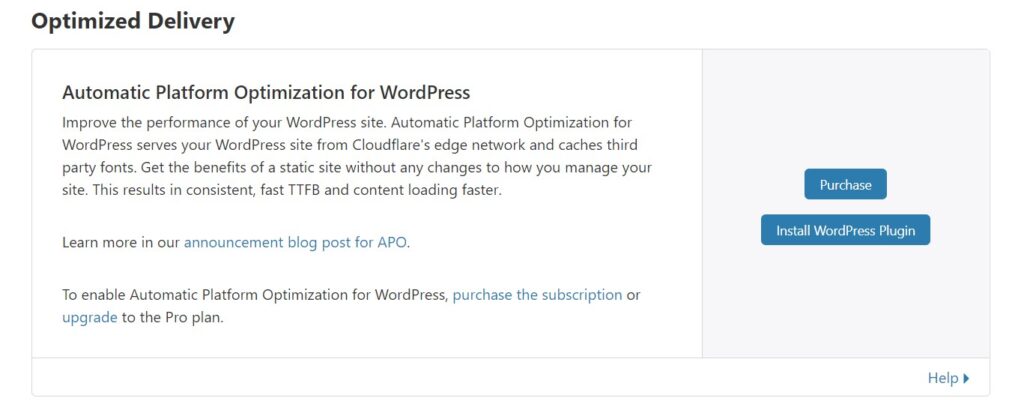
You need to activate Cloudflare Automatic platform optimization (APO) by login to the Cloudflare dashboard. Then go to the speed section and then click on Optimization and scroll down you will find a section called Cloudflare APO as shown in the below image.
step-2: Generate an API token for WordPress plugin
Click on the Overview tab and then scroll down, you will find an API section on the right-hand side and here click on Get your API token.
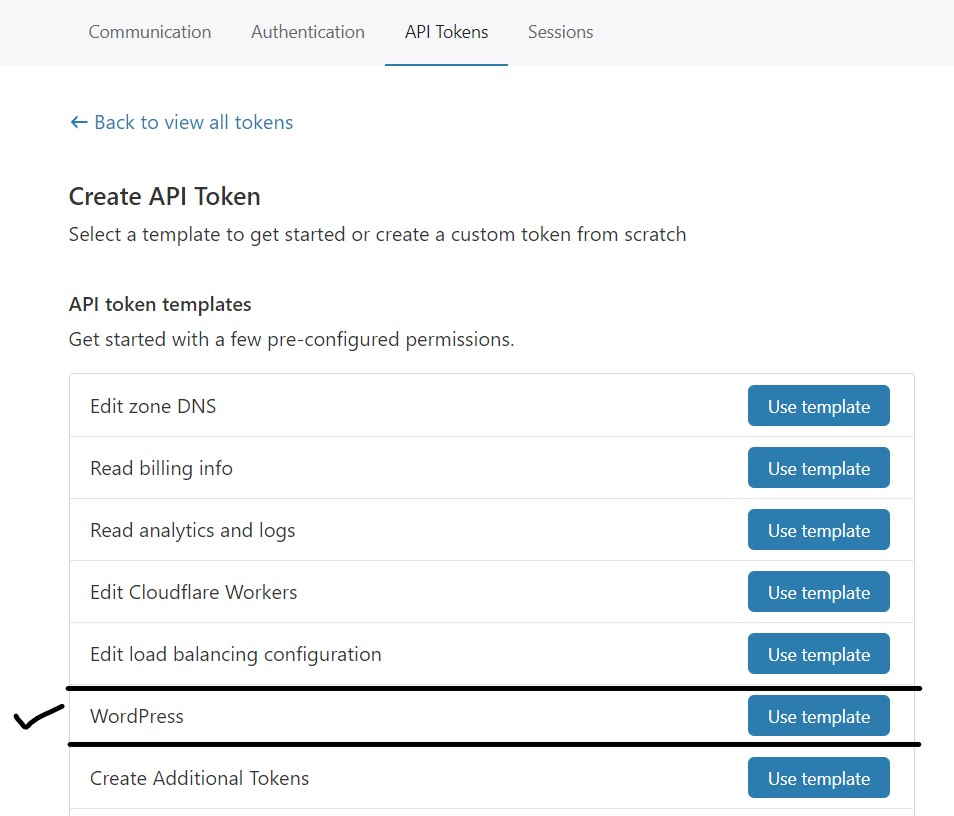
Then click on API token and create a token button using the WordPress template as shown in the below image. Then click on the Continue to summary button and create the token which you will use in the plug-in setting later.
step-3: Install and activate the plugin
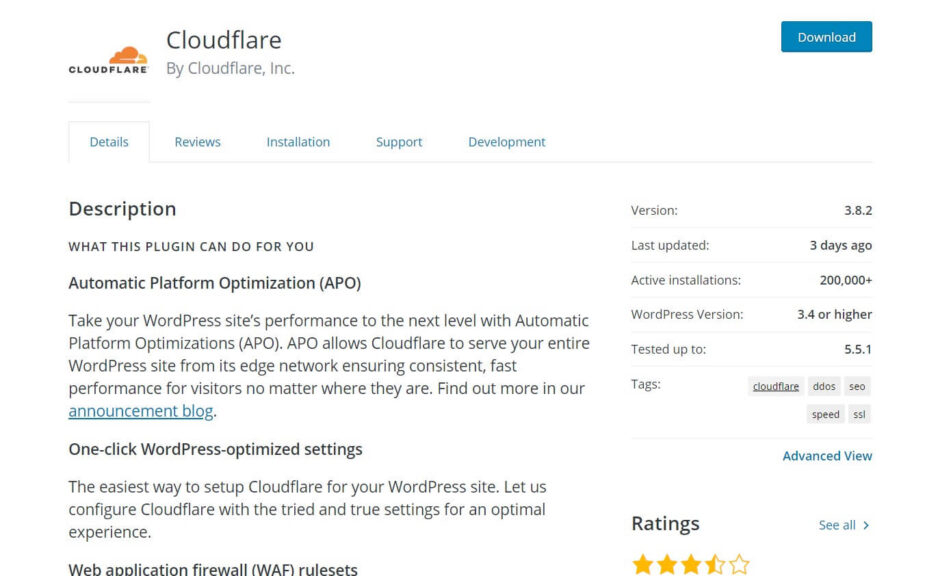
Install the official Cloudflare plugin in the WordPress repository and activate it. Then enter the Cloudflare Email and API key on the setting page of the plugin.
After installing the API key verify the status on the Cloudflare website and after successful installation the Install WordPress plugins button will disappear.
You will learn how to install and activate the Automatic platform optimization of Cloudflare in WordPress website but should you use it as beginners?
In my opinion if you are a beginners and you will not getting much traffics then you don’t need to invest on it. You can use Cloudflare’s other free services as it helps speedup your website.
But if your posts are already ranking in the search result and you are using a shared hosting plan then you can consider it as an option to boost your performance.
what do you think, do you planning to buy this service or not tell me in the comment section?
